
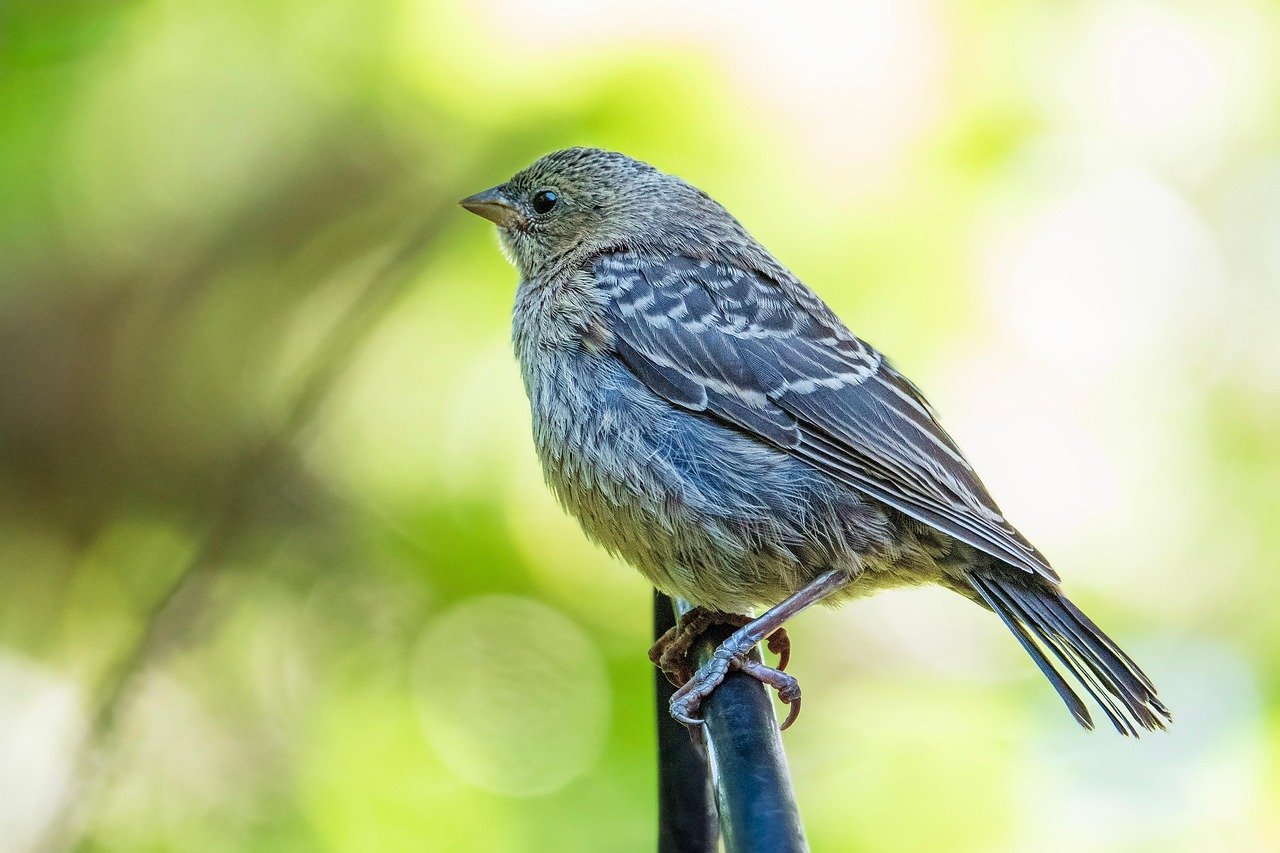
To identify a bird by photo, compare its shape, colors, markings, habitat, location, and behavior. A bird ID app such as Merlin Bird ID can suggest likely species, but the best result comes from checking the photo against a trusted field guide and the bird’s known range in the United States.
A clear photo helps, but even a blurry image can show useful clues. Start with the bird’s size and shape. Then check the bill, wings, tail, eye stripe, chest pattern, and habitat. If the bird is in your backyard, park, wetland, forest, or along the coast, that setting can narrow the choices.
Bird identification is a process of matching evidence, not just matching color. Lighting can change color, and many North American birds look alike. Use an app for a fast shortlist, then verify the result with a reliable source such as the Cornell Lab of Ornithology, Audubon, or the National Audubon Society.
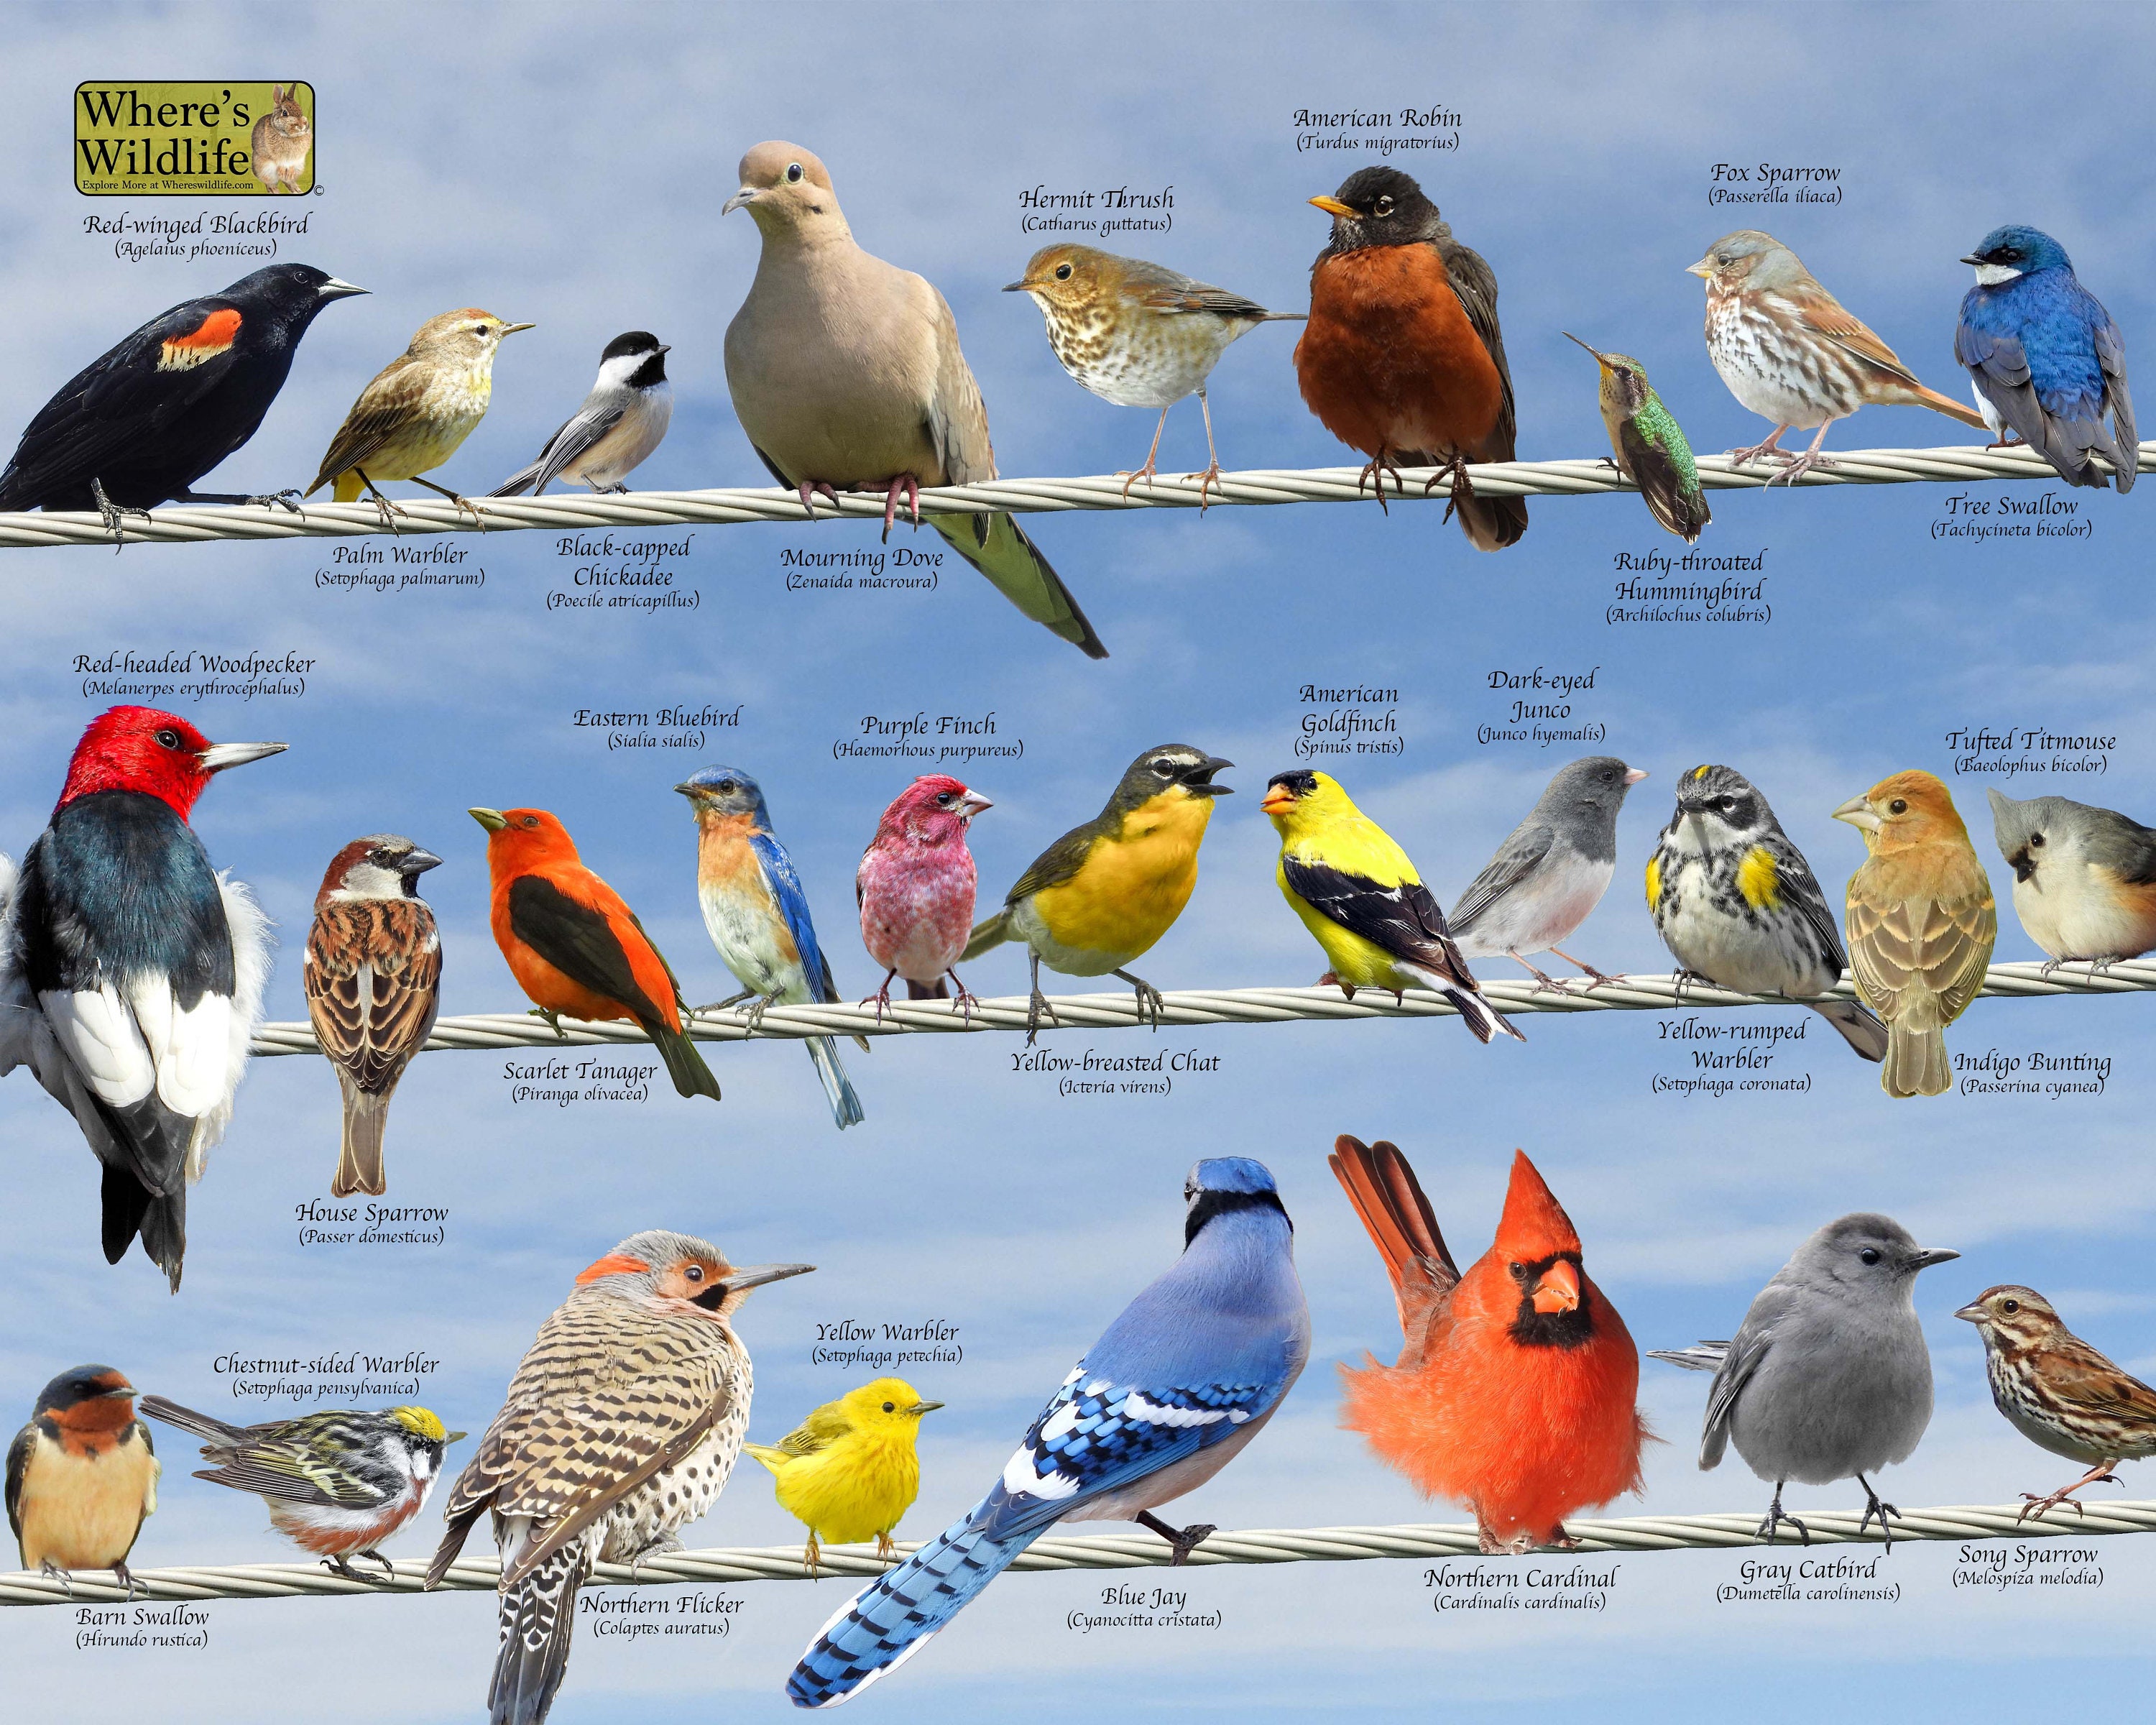
What You Need Before You Identify a Bird by Photo
You need the photo, the date and place, and a few notes about the bird. Exact location matters because many species have limited ranges or appear only during migration.
Record these details before searching:
- State or region: For example, coastal Maine, central Texas, southern California, or western Washington.
- Date: A bird seen in January may be different from one seen in July.
- Habitat: Note whether it was in a yard, city park, marsh, lake, beach, desert, grassland, or forest.
- Size: Compare it with a robin, sparrow, crow, duck, or hawk.
- Behavior: Watch for hopping, climbing tree trunks, hovering, diving, wading, or soaring.
- Sound: A call or song can confirm an identification that looks uncertain in a photo.
- Number of birds: A single bird may behave differently from a flock.
Do not crop away the bird’s feet, tail, or nearby branches unless needed. The full scene may show the habitat and posture. Keep the original image because repeated crops can remove clues and reduce image quality.

The Fastest Way to Identify a Bird From a Picture
The fastest method is to use a bird-specific photo identification tool, then confirm its suggestion manually.
1. Use a bird identification app
Merlin Bird ID from the Cornell Lab of Ornithology offers photo identification for many birds. Its result can provide several possible matches rather than one certain answer. That is useful because image tools can confuse similar species.
Other tools may include:
- A regional bird field guide app
- A reverse image search tool
- An online bird database
- A local birding group or museum identification service
- A printed field guide for North American birds
Before using an app, check whether it supports photo identification, your phone type, and your region. App features, data sets, and privacy settings can change over time.
2. Enter the location and date
If the tool asks for a place, enter the most accurate location you can share. A county or nearby town is often enough. Avoid sharing a precise home address if privacy is a concern.
The location helps remove impossible or unlikely results. For example, a western bird should not become the leading answer for a photo taken in New England unless the bird is a known migrant, escaped captive bird, or unusual visitor.
3. Review the suggested matches
Look at more than the first result. Compare the top few species and ask:
- Does the bird’s size match?
- Does the bill have the right shape?
- Are the wing bars or facial marks in the right place?
- Does the tail match?
- Is the bird found in that state at that time of year?
- Does it use the same habitat?
A photo tool may recognize a familiar pattern but miss a small detail. Treat the result as a starting point, not proof.
4. Confirm the identification with a field guide
Use a trusted guide to compare the bird’s appearance, range, habitat, and behavior. The Cornell Lab’s All About Birds species accounts include photos, range maps, behavior, and sounds. Audubon also provides species information for many birds found in North America.
A strong identification usually matches several independent clues:
- Physical structure
- Field marks
- Range
- Season
- Habitat
- Behavior or sound
The more clues that agree, the stronger the result.

How to Read a Bird Photo
A bird photo gives you more than color. Look at the bird in a set order so you do not focus on one misleading feature.
Start with size and shape
Ask what the bird resembles:
- Small and round: Sparrow, finch, chickadee, wren, or warbler
- Long and slim: Heron, egret, rail, or shorebird
- Stocky with a short tail: Pigeon, dove, quail, or grouse
- Broad-winged: Hawk, eagle, vulture, or large owl
- Long-tailed: Magpie, grackle, mockingbird, or some flycatchers
Shape often works better than color. A black bird might be a crow, grackle, blackbird, starling, or raven. Their body shape, bill, tail, and flight style help separate them.
Study the bill
The bill can reveal what the bird eats and which group it belongs to.
- A short, thick, cone-shaped bill often belongs to a seed-eating finch or sparrow.
- A thin, pointed bill may belong to an insect-eating warbler or flycatcher.
- A hooked bill suggests a raptor.
- A long, straight bill may belong to a wader or shorebird.
- A broad, flat bill is common in ducks and other waterfowl.
Take care with perspective. A bird facing the camera may appear to have a shorter bill than it really does.
Check the face
Look for:
- Eye rings
- Eyebrows or supercilia
- Eye stripes
- Dark masks
- Cheek patches
- Crown color
- Throat color
- A line through or behind the eye
Facial marks are often useful for separating similar sparrows, warblers, thrushes, and chickadees.
Inspect the wings and back
Wing bars are pale lines across folded wings. They are not the same as long stripes running along the body. Note whether the bird has:
- One wing bar or two
- A plain or patterned back
- White patches
- Rust, yellow, blue, or green feathers
- A visible rump patch
- Dark or pale flight feathers
A bird may show different marks when perched than when flying. If you have several images, compare all of them.
Look at the chest, belly, and flanks
Check for spots, streaks, bands, or a solid color. Some birds have very different male and female plumage. Young birds may also look unlike adults.
Season can change appearance. Many birds molt, and some species have bright breeding plumage in spring and duller feathers in fall or winter.
Use the tail and legs
Tail length, shape, and color can be decisive. Look for:
- A forked tail
- A rounded tail
- White outer tail feathers
- Rust-colored tail feathers
- A long or very short tail
- A tail that bobs while the bird walks
Leg color can help, but it is easy to misread in shade. It should support other clues rather than decide the identification by itself.

A Photo Identification Decision Table
Use this table to choose the next step based on the quality of your image.
| Photo condition | Best next step | Main limitation |
|---|---|---|
| Clear side view with full body | Compare field marks and use a bird ID app | Similar species may still overlap |
| Blurry but shows silhouette | Identify the bird family first | Fine marks may be invisible |
| Bird seen from behind | Study tail, back, rump, and habitat | Face marks cannot help |
| Bird in flight | Check wing shape, flight pattern, and patches | Colors may be distorted |
| Bird partly hidden | Use location, size, and behavior | A confident species ID may not be possible |
| Night or low-light photo | Adjust exposure only slightly and inspect shape | Color is unreliable |
| Juvenile bird | Compare age-specific photos | Young birds often lack adult marks |
| Bird photographed through glass | Check for glare and color shift | Reflections can create false marks |
When the evidence is weak, identify the bird to a broader group. “A sparrow,” “a gull,” or “a juvenile hawk” may be more accurate than forcing a species name.
How to Improve a Bird Photo for Identification
You can improve a photo without changing the bird’s natural marks.
Crop carefully
Keep the full bird in the frame. Include the branch, ground, water, or other setting when possible. A close crop can help with facial detail, but save the uncropped original.
Correct exposure
Brighten a dark image enough to reveal detail. Avoid heavy filters or artificial color changes. Over-editing can make a bird look like another species.
Sharpen lightly
A small amount of sharpening may reveal an eye stripe or wing bar. Too much sharpening creates false edges and colored halos.
Compare several photos
A single image may hide the key feature. A sequence can show the bill, tail, wing, and back from different angles. Use the same bird only if you are sure the images show the same individual.
Do not use color as the only clue
Sunset light, shade, window glass, and phone processing can change feather color. Structure and pattern usually provide more reliable evidence.

Why Bird Identification Apps Get Photos Wrong
Photo identification tools are helpful, but they do not see a bird exactly as a human birder would. They compare visual patterns with stored examples and estimate which species are likely.
Common causes of error include:
- Poor lighting
- Motion blur
- A bird partly hidden by leaves
- An unusual angle
- Juvenile or immature plumage
- Female or nonbreeding plumage
- A rare species not well represented in the data
- Two species with nearly identical markings
- A bird outside its normal range
- A photo of a domestic, captive, or escaped bird
An app may also favor a common species over a rare one. That is often reasonable, but unusual birds do occur. Do not accept a rare identification unless the photo and location support it.
A location filter can create a different problem. If the location is wrong, the tool may remove the correct species from consideration. Review the location before judging the result.
How to Identify Similar North American Birds
Many identification mistakes happen between species that share colors or habitats. Compare the features that remain stable.
Crow, raven, grackle, and blackbird
All can appear mostly black in a photo. Compare:
- Body size
- Bill shape
- Tail shape
- Glossy or matte feathers
- Voice
- Habitat
- Flight style
A raven is usually larger than a crow and has a heavier bill. A grackle often has a long body and long tail. A common blackbird may show a different bill color and body shape.
Hawk or eagle
Look at wing shape, body size, head size, tail pattern, and flight behavior. A distant bird can look much larger or smaller than it is. Use a known object, such as a tree or fence, only as a rough size reference.
Sparrow, finch, and bunting
These groups can overlap in color. Focus on bill shape, streaking, crown pattern, wing bars, and habitat. A thick seed-eating bill may separate a finch from a thin-billed sparrow, but exceptions exist.
Gull and tern
Both may appear white and gray near water. Terns often have narrower wings, a more pointed bill, and a lighter, more graceful flight. Gulls vary widely by age, season, and species, so check the bird’s age and full pattern.
Duck species
Waterfowl can change appearance by sex and season. Check the bill color, head shape, breast pattern, body profile, wing patch, and behavior. A lone duck may be harder to identify than a flock because group behavior provides useful context.

When You Cannot Identify the Bird by Photo
Some photos do not contain enough evidence for a reliable species answer. That is normal. Birders often record an uncertain identification rather than guess.
Use a broader label when:
- The bird is too far away.
- The photo shows only a dark silhouette.
- The head or bill is hidden.
- The bird is a juvenile with unclear markings.
- Several species share the same visible pattern.
- The bird is outside the range shown in your guide.
- The image has strong color distortion.
You can record an observation as “unknown sparrow” or “possible Cooper’s Hawk” and keep gathering evidence. Take another photo if the bird returns. Record the call, habitat, time, and movement.
For unusual sightings, local bird clubs, state ornithological societies, nature centers, and eBird communities may help. Share the original photo, not only a heavily edited crop. Include the date, location at a general level, and the reasons for your leading choices.

Privacy, Ethics, and Wildlife Safety
Do not handle a wild bird just to get a better photo. Injured birds, nestlings, and fledglings can require special care, and well-meaning intervention can cause harm.
Keep a safe distance from nests, roosts, and feeding areas. Do not use repeated playback of bird calls to lure a bird, especially during nesting or migration. Follow posted rules in national parks, wildlife refuges, state parks, and private lands.
Before uploading a photo, check the app or website’s privacy settings. A photo can contain location data, including embedded GPS information. Remove precise location data if the image shows your home, a nest, or a sensitive wildlife site.
If you find an injured bird, contact a licensed wildlife rehabilitator or your state wildlife agency. Do not give food or water unless a qualified professional instructs you to do so.

What to Do When the Identification Still Fails
Use a second pass instead of repeating the same search.
- Return to the silhouette. Decide whether the bird is a duck, raptor, shorebird, songbird, or another broad group.
- Check the range. Remove species that do not occur in your region or season unless there is a clear reason.
- Compare similar species side by side. Use the same photo angle for each candidate.
- Search for age and sex differences. Look for juvenile, female, winter, and nonbreeding images.
- Review the habitat. A marsh bird, desert bird, and forest bird have different likely choices.
- Listen for sound. A short recording can be more useful than another poor photo.
- Ask for a second opinion. Include your leading identification and the evidence for it.
A good result may be “likely,” “possible,” or “not enough information.” Honest uncertainty is better than a precise but wrong species name.

Frequently Asked Questions
What is the best app to identify a bird from a photo?
Merlin Bird ID is a widely used starting point for birds in North America because it combines photo tools with species information from the Cornell Lab of Ornithology. It is still a suggestion tool, so compare the result with a field guide, range map, and the bird’s visible features.
Can Google identify a bird from a picture?
A general image search may find visually similar photos, but it may not distinguish closely related bird species. A bird-specific tool is usually more useful because it can consider bird traits, region, and species data. Verify any result before recording it as certain.
How accurate are bird photo identification apps?
Accuracy varies with the photo, species, lighting, age, and angle. Apps tend to perform better with a clear, side-facing image and worse with silhouettes, juveniles, rare species, and partly hidden birds. There is no single accuracy rate that applies to every bird or photo.
Can I identify a bird from a blurry photo?
Sometimes. A blurry image may still show the bird’s size, shape, tail, bill, and habitat. If it does not show enough structure or pattern, identify the bird only to a broad group and gather more evidence.
How do I identify a bird without an app?
Use a regional field guide. Start with size and shape, then compare the bill, face, wings, tail, habitat, season, and behavior. A sound recording and a range map can help confirm the result.
Final Takeaway
To identify a bird by photo, begin with the bird’s shape and size, then examine its bill, face, wings, tail, habitat, and location. Use a bird identification app to create a shortlist, but confirm the answer with a trusted field guide and range information.
The best photo is clear, natural, and paired with the date and place. When the evidence is weak, record an uncertain identification rather than guessing. With practice, each photo becomes more than a picture—it becomes a set of clues that can reveal the bird’s identity.